Moving house is often cited as one of life’s most stressful events, but with careful organisation, it doesn’t have to be. A comprehensive, step-by-step plan is the key to transforming a potentially chaotic experience into a smooth, manageable transition. This definitive moving out checklist is your blueprint for success, designed to guide you through every stage of the process, from the initial decluttering weeks in advance to the final handover of your keys.
We will break down each crucial task into manageable actions, offering practical advice and insider tips to ensure nothing is overlooked. You will learn how to systematically declutter, create a detailed inventory, manage your utilities and subscriptions, and pack with efficiency. This guide covers everything from gathering the right packing supplies and booking reliable removal companies to performing a final property walk-through and preparing for moving day itself.
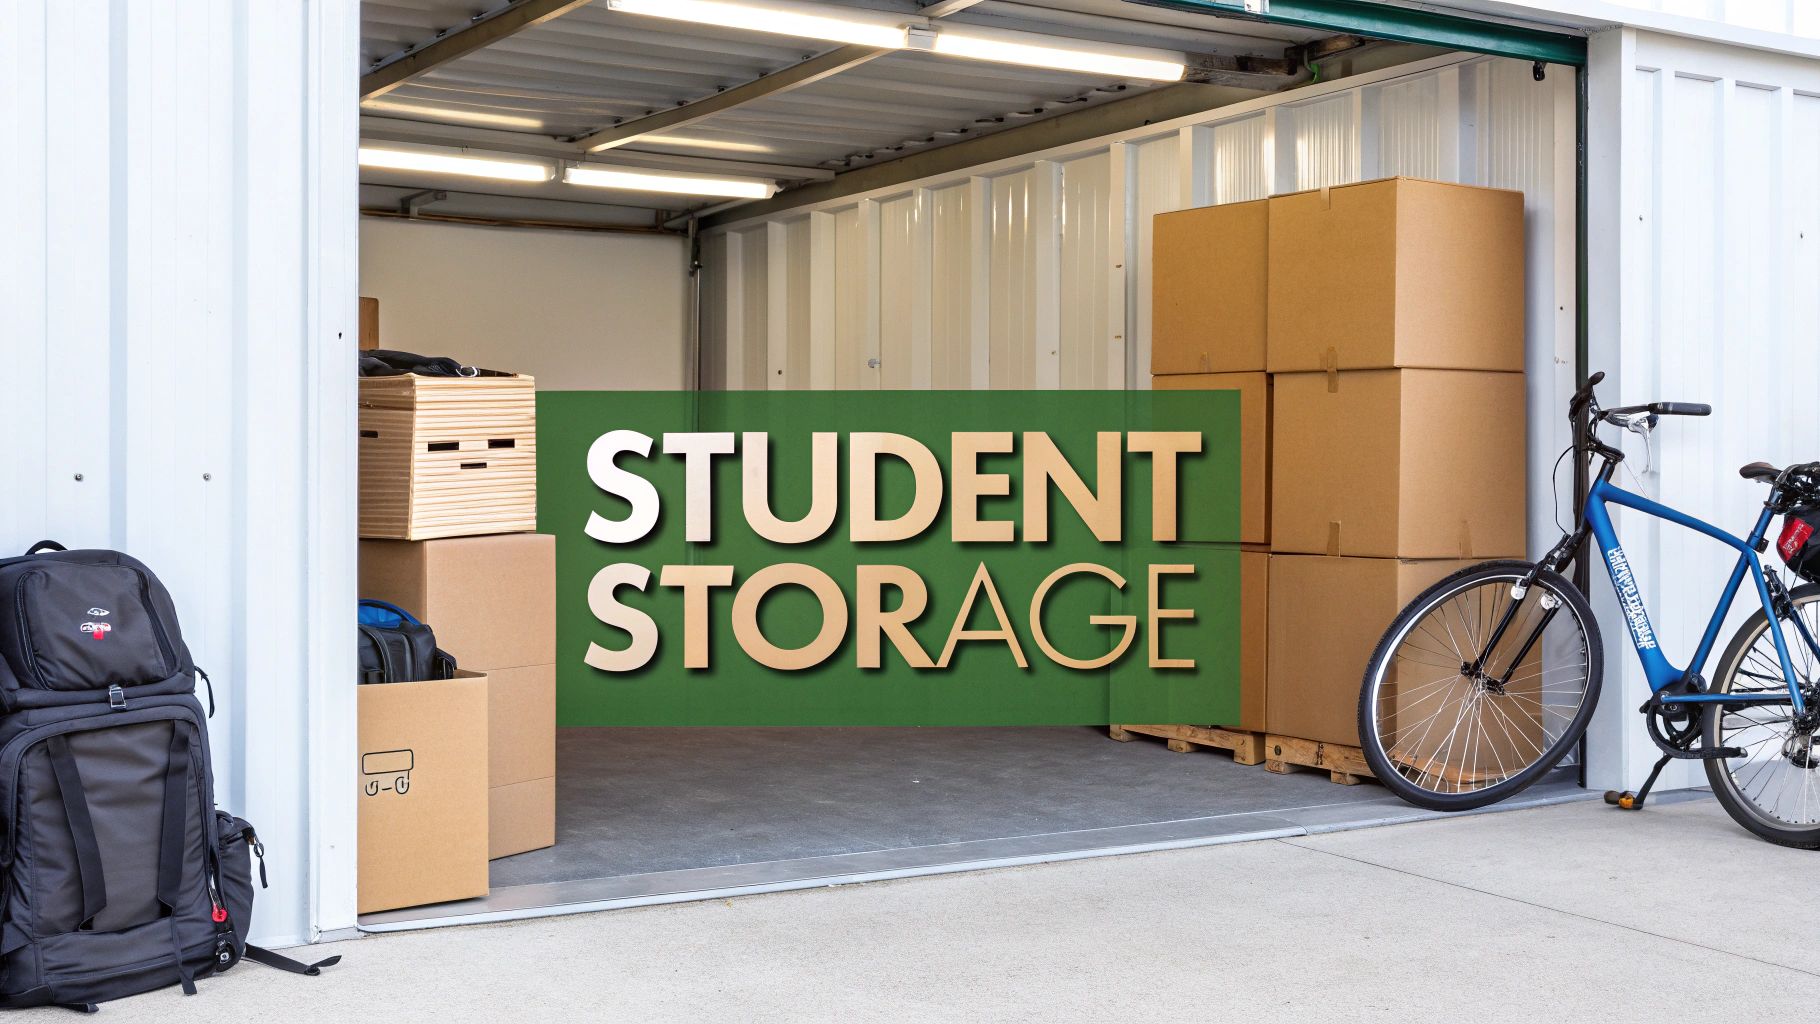
Whether you're moving across town or relocating to a different part of the country, this guide provides a structured timeline to keep you on track. For those embarking on a longer journey or a particularly complex relocation, our partners offer a comprehensive guide on moving out of state that provides deeper insights into logistical planning. For everyone else, this checklist, with special considerations for utilising self-storage solutions like those offered by MG Self Storage, will be your indispensable companion for an organised and stress-free move. Let's get started.
1. Step 1: The Great Sort-Out – Declutter and Downsize Your Possessions
Before packing a single box, the most crucial task on your moving out checklist is a thorough declutter. This initial sort-out involves systematically deciding what to keep, sell, donate, or discard. This process dramatically reduces the volume of items you need to move, which can lower removal costs, minimise unpacking time, and give you a fresh, organised start in your new home. It’s an empowering opportunity to shed possessions that no longer serve you, ensuring your move is lighter and your new space is intentionally curated from day one.
This method, popularised by organisation experts like Marie Kondo and The Minimalists, is about making conscious choices. By evaluating each item, you actively design the environment you want to live in, rather than simply transferring clutter from one property to another.
How to Implement The Great Sort-Out
To approach this systematically, adopt the popular 'four-box' method. Go room by room and categorise every item into one of four distinct groups:
- Keep: These are the items you love, use regularly, or hold significant sentimental value. They are the essentials that will make your new house a home.
- Sell: Items that are in good condition but you no longer need can be a great source of extra cash for your move. Take clear photos and list them on platforms like Gumtree, Facebook Marketplace, or Vinted.
- Donate/Charity Shop: Give items a second life by donating them. For larger pieces of furniture, many UK charities like the British Heart Foundation offer a free collection service, but be sure to book this well in advance.
- Bin/Recycle: This category is for anything broken, expired, or no longer usable. Check your local council's guidelines for proper disposal and recycling.
For items you're unsure about but don't have space for immediately, considering temporary storage is a practical solution. You can explore short-term self storage options to keep these belongings safe while you decide, preventing a cluttered start in your new home.
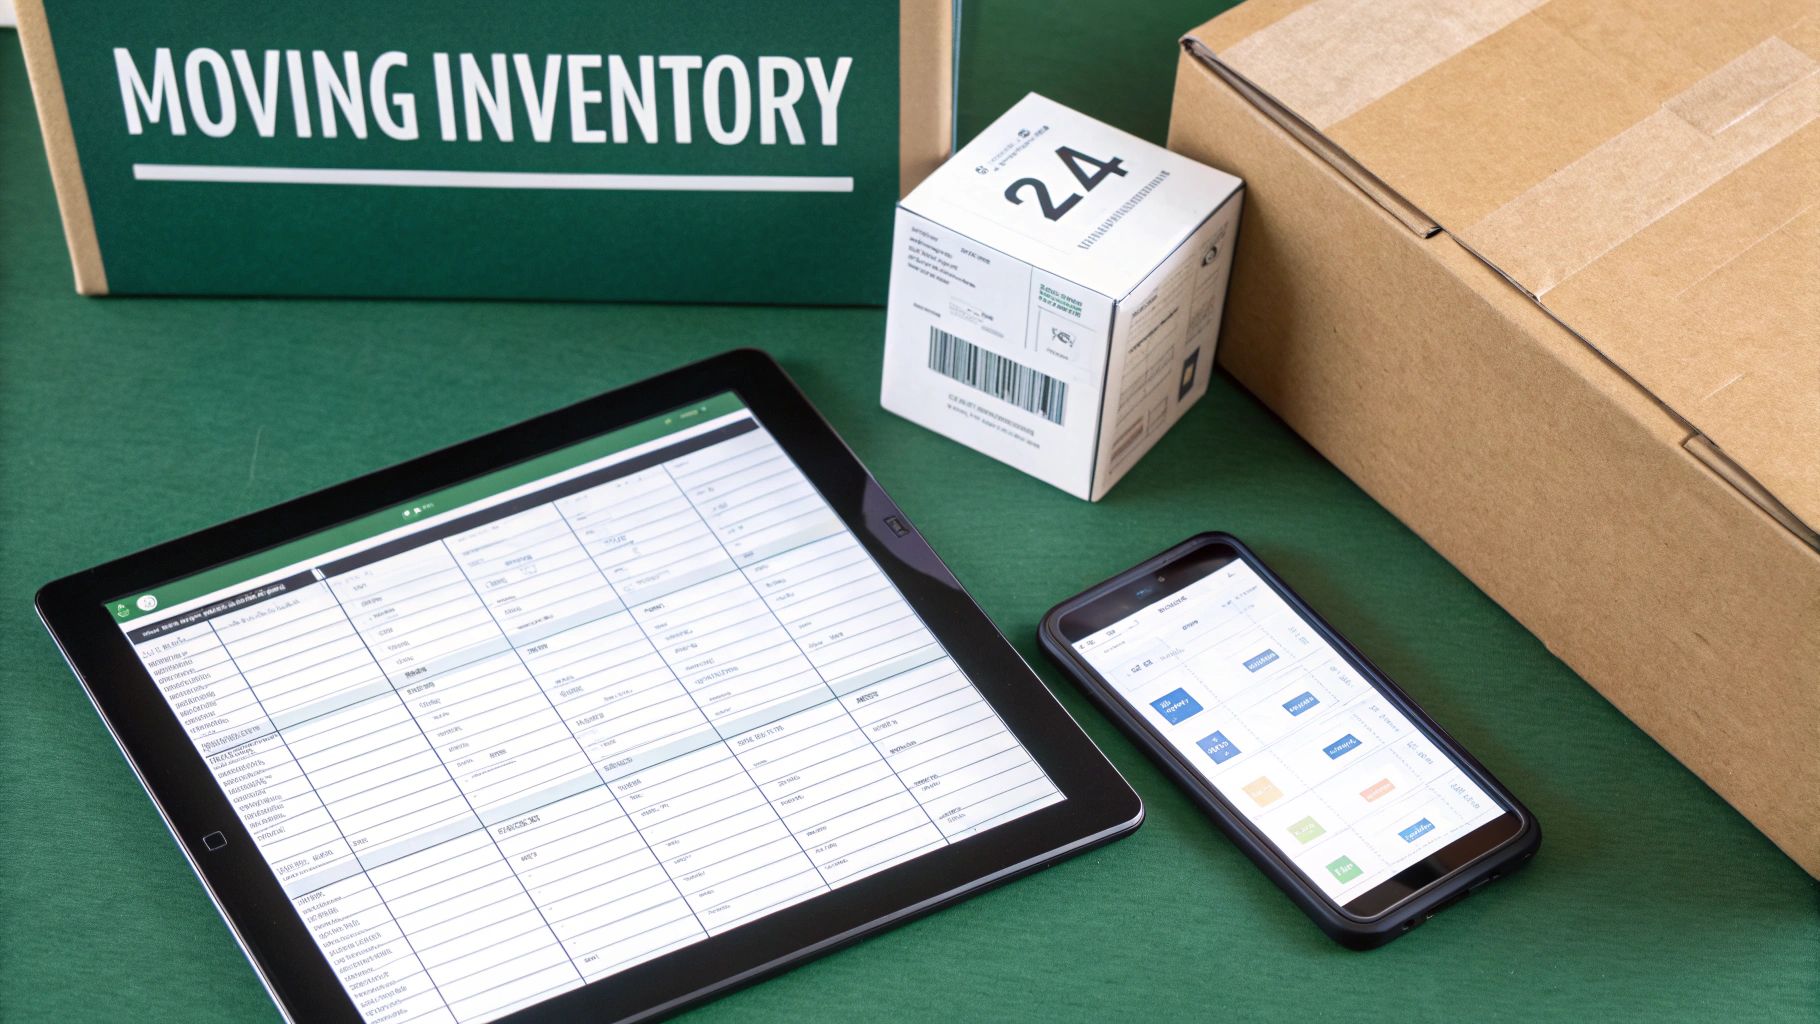
2. Create a Detailed Moving Inventory
Once you've decided what to keep, the next logical step in your moving out checklist is to create a detailed inventory. This involves meticulously documenting every item you plan to move, including its quantity, condition, and estimated value. This document is invaluable; it acts as a comprehensive record for insurance claims, helps you track your belongings to ensure nothing gets lost in transit, and provides a clear checklist for unpacking in your new home. It transforms a potentially chaotic process into a manageable, organised task.
This practice is standard for professional removal companies and is highly recommended for any move, especially those involving high-value items. Having a pre-move record of an item's condition provides concrete evidence if you need to file a claim for damage. It also gives you complete peace of mind, knowing exactly what you own and where it is supposed to be at every stage of the move.
How to Create a Moving Inventory
Creating a thorough inventory is easier than it sounds with modern tools. You can choose a method that best suits your organisational style, from a simple spreadsheet to a dedicated app. The goal is to be systematic and consistent.
- Go Digital: Use a spreadsheet (like Google Sheets or Microsoft Excel) or a dedicated moving app. Digital formats are easy to edit, share with your removal company, and back up to the cloud.
- Be Descriptive: For each item, note its name, the room it belongs to, and a brief description of its condition. For example, "Living Room: Oak coffee table – minor scratch on top right corner."
- Photograph Everything: Take clear photos of all your items, especially valuable or fragile ones. Capture any existing damage from multiple angles. This visual evidence is crucial for insurance purposes.
- Record Serial Numbers: For electronics like televisions, computers, and stereos, be sure to jot down the model and serial numbers. This is vital for identification if an item is lost or stolen.
- Assign Box Numbers: As you pack, assign a unique number to each box. Record this number in your inventory and list the general contents of the box. For example, "Box #14 – Kitchen – Kettle, Toaster, Mugs."
3. Notify Service Providers and Change Your Address
Once you’ve organised your belongings, the next critical administrative task is to update your address with all relevant service providers. This step is a non-negotiable part of any comprehensive moving out checklist. Failing to notify companies of your move can lead to missed bills, service interruptions at your new home, and potential security risks if sensitive mail falls into the wrong hands. It’s an essential piece of life admin that ensures a seamless transition for your finances, utilities, and correspondence.
This process involves more than just setting up a mail redirect; it requires a proactive and methodical approach. By systematically contacting each organisation, you maintain control over your personal data and ensure continuity of service, preventing the headache of chasing down misdirected post or rectifying billing errors after you’ve already moved.
How to Systematically Update Your Address
The best approach is to create a master list of everyone who needs to be informed, categorised for clarity. Start this process at least four to six weeks before your moving date, as some providers require significant notice.
- Utilities: Contact your current gas, electricity, water, and broadband providers to schedule a service disconnection for your moving day and arrange connection at your new address. Don't forget to take final meter readings.
- Council & Government: Inform your local council for Council Tax purposes. You must also update your address with HMRC, the DVLA for your driving licence and vehicle registration, and the Electoral Roll.
- Financial Institutions: This is crucial. Notify your bank, building society, credit card companies, pension providers, and any loan or insurance companies of your new address.
- Subscriptions & Services: Make a list of all subscriptions, from magazines and streaming services (like Netflix or Amazon Prime) to gym memberships and online shopping accounts, and update your billing and delivery details.
Setting up the Royal Mail's Redirection service for at least six months is a wise safety net. It will catch any correspondence from services you may have overlooked, giving you time to update them without missing important documents.
4. Book Moving Services and Get Multiple Quotes
Once you have a clear idea of what you're taking with you, the next critical step in your moving out checklist is to secure your moving services. Whether you opt for a full-service professional removal company or decide on a DIY approach with a rental van, booking early is essential. This step ensures you have the necessary transport and labour confirmed for your moving day, preventing last-minute stress and potentially higher costs.
Engaging with multiple providers allows you to compare not just the price, but also the level of service, insurance coverage, and customer reputation. Taking the time to research and book well in advance often leads to better availability, more competitive rates, and the peace of mind that comes from hiring a reliable team for one of the most important parts of your move.
How to Secure the Best Moving Services
To ensure you find the right fit for your budget and needs, a structured approach to researching and booking is key. Aim to start this process 6-8 weeks before your move date, especially if moving during peak season (May to September).
- Gather Quotes: Contact at least three to five different companies to get a comprehensive view of the market. This includes national firms, local independent removal companies, and even man-with-a-van services for smaller moves.
- Request Binding Estimates: Ask for a 'binding' or 'fixed-price' quote based on an in-person or video survey of your belongings. This prevents unexpected charges on moving day. A detailed moving company estimate template can help you understand the breakdown of costs.
- Check Credentials: Verify that the company is a member of a recognised trade association, like the British Association of Removers (BAR). Check their insurance policies and read recent reviews on platforms like Google or Trustpilot.
- Read the Contract: Before signing, carefully review the terms and conditions. Pay close attention to clauses about cancellation, liability for damages, and any potential hidden fees for things like stairs or long-carry distances.
Choosing the right partner for your move is a significant decision. For more detailed guidance, you can find valuable tips on selecting a removal company in Exeter to help you make an informed choice.
5. Gather Packing Supplies and Materials
With your belongings decluttered, the next practical step on your moving out checklist is to assemble a comprehensive toolkit of packing supplies. Sourcing high-quality materials is not just about containment; it’s about protecting your possessions from damage during transit. Using the right boxes, tape, and padding makes the entire packing process more efficient, prevents breakages, and ensures your items arrive at your new home in the same condition they left. This preparation saves you from last-minute scrambles and potential replacement costs.
This methodical approach to gathering supplies transforms packing from a chaotic chore into a streamlined, organised project. Having everything you need on hand before you start means you can pack room by room without interruption, making the task feel less overwhelming and far more manageable.
How to Source Your Packing Supplies
A combination of purchased and free materials is often the most cost-effective strategy. Start collecting early and think strategically about what you’ll need for different types of items:
- Start Early: Begin collecting free boxes from local supermarkets, off-licences, or online community groups like Freecycle a couple of months before your move. This significantly reduces costs.
- Buy Quality Essentials: While free boxes are great, invest in quality packing tape, as cheap alternatives often fail under the weight of a full box. Also, purchase speciality boxes for fragile items like dishes, mirrors, or TVs.
- Estimate Quantities: A typical three-bedroom house often requires 60-100 boxes of various sizes. It’s always better to overestimate and have extra than to run out mid-pack.
- Use What You Have: Don’t forget that towels, linens, tea towels, and even clothing make excellent, free padding for fragile items, saving you money on bubble wrap and packing paper.
- Get Organised: Purchase colour-coded tape or a set of thick marker pens to label each box with its contents and destination room. This is a simple step that makes unpacking infinitely easier.
For a one-stop solution, many moving and storage companies sell packing materials. You can browse a full range of packing supplies from sturdy boxes to bubble wrap and tape, ensuring you have everything required for a secure move.
6. Step 6: Pack Systematically Room by Room
Once you have decluttered, the next logical step in your moving out checklist is to adopt a methodical packing strategy. Packing room by room prevents the chaotic mixing of items and creates a clear, organised system that makes unpacking exponentially easier. This approach transforms a potentially overwhelming task into a series of manageable, self-contained projects, ensuring that when you arrive at your new property, you can locate essential items without stress.
This is the exact methodology professional movers and home organisation experts recommend. By isolating each room, you create a self-contained inventory that simplifies not only the physical move but also the process of setting up your new home. It’s about working smarter, not harder, to ensure a smooth transition from one space to the next.
How to Implement Systematic Packing
To execute this effectively, focus on completing one room entirely before moving to the next. This creates a sense of accomplishment and keeps the process contained.
- Assign a Colour: Use different coloured sticky labels or marker pens for each room (e.g., blue for the kitchen, red for the master bedroom). This allows for quick identification of boxes on moving day.
- Label with Detail: On every box, write the destination room and a brief list of its main contents (e.g., "KITCHEN – Kettle, Toaster, Mugs"). This saves you from having to open multiple boxes to find one specific item.
- Create an Inventory: For extra organisation, keep a simple notebook or a spreadsheet listing each box number and its corresponding contents. This is especially useful for items going into storage.
- Pack Smartly: Place heavy items like books in smaller boxes to keep them manageable, and lighter items like duvets and pillows in larger boxes. Always ensure no box is too heavy to lift safely.
- The "Essentials" Box: Pack one clearly labelled box with all the essentials you'll need on your first night: toiletries, a change of clothes, basic cutlery, teabags, and important documents. Keep this box with you.
A detailed plan is key to efficient packing. For a more comprehensive guide, you can review this moving house packing checklist to ensure no detail is overlooked.
7. Set Up Utilities and Services in New Home
To avoid arriving at a dark, cold, and internet-free property, arranging your essential services ahead of time is a non-negotiable part of any moving out checklist. This step involves contacting utility providers for your new address to schedule the connection of electricity, gas, water, and broadband. Organising this in advance ensures a seamless transition, allowing you to settle in with modern comforts from the moment you get the keys, rather than facing delays and administrative headaches upon arrival.
This proactive planning prevents a scenario where you're left without heating or a working kettle on your first night. By setting up accounts and booking installation appointments beforehand, you turn your new house into a functional home immediately, allowing you to focus on the more pressing task of unpacking.
How to Implement Your Utility Switchover
Contacting providers several weeks before your move date is crucial. Many companies, especially for broadband installation, have lead times that can stretch for weeks. A systematic approach ensures nothing is missed:
- Compile a List: Identify all the necessary providers for your new home. This includes electricity, gas, water, council tax, and broadband. You can often find out who the current suppliers are from the estate agent or previous owner.
- Schedule Connections: Contact each provider with your new address and confirmed move-in date. Aim to have services like electricity, gas, and water activated on your move-in day. It’s often best to schedule broadband installation for the day after you move to avoid clashing with removal teams.
- Provide Final Readings: On your moving day, take final meter readings for gas, electricity, and water at your old property. Submit these to your current suppliers to ensure you receive an accurate final bill and avoid paying for usage after you've left.
- Confirm and Document: A few days before the move, reconfirm all connection appointments. Once set up, keep a record of your new account numbers, provider contact details, and the date your services went live. This information is vital for your records and for managing your household budget from day one.
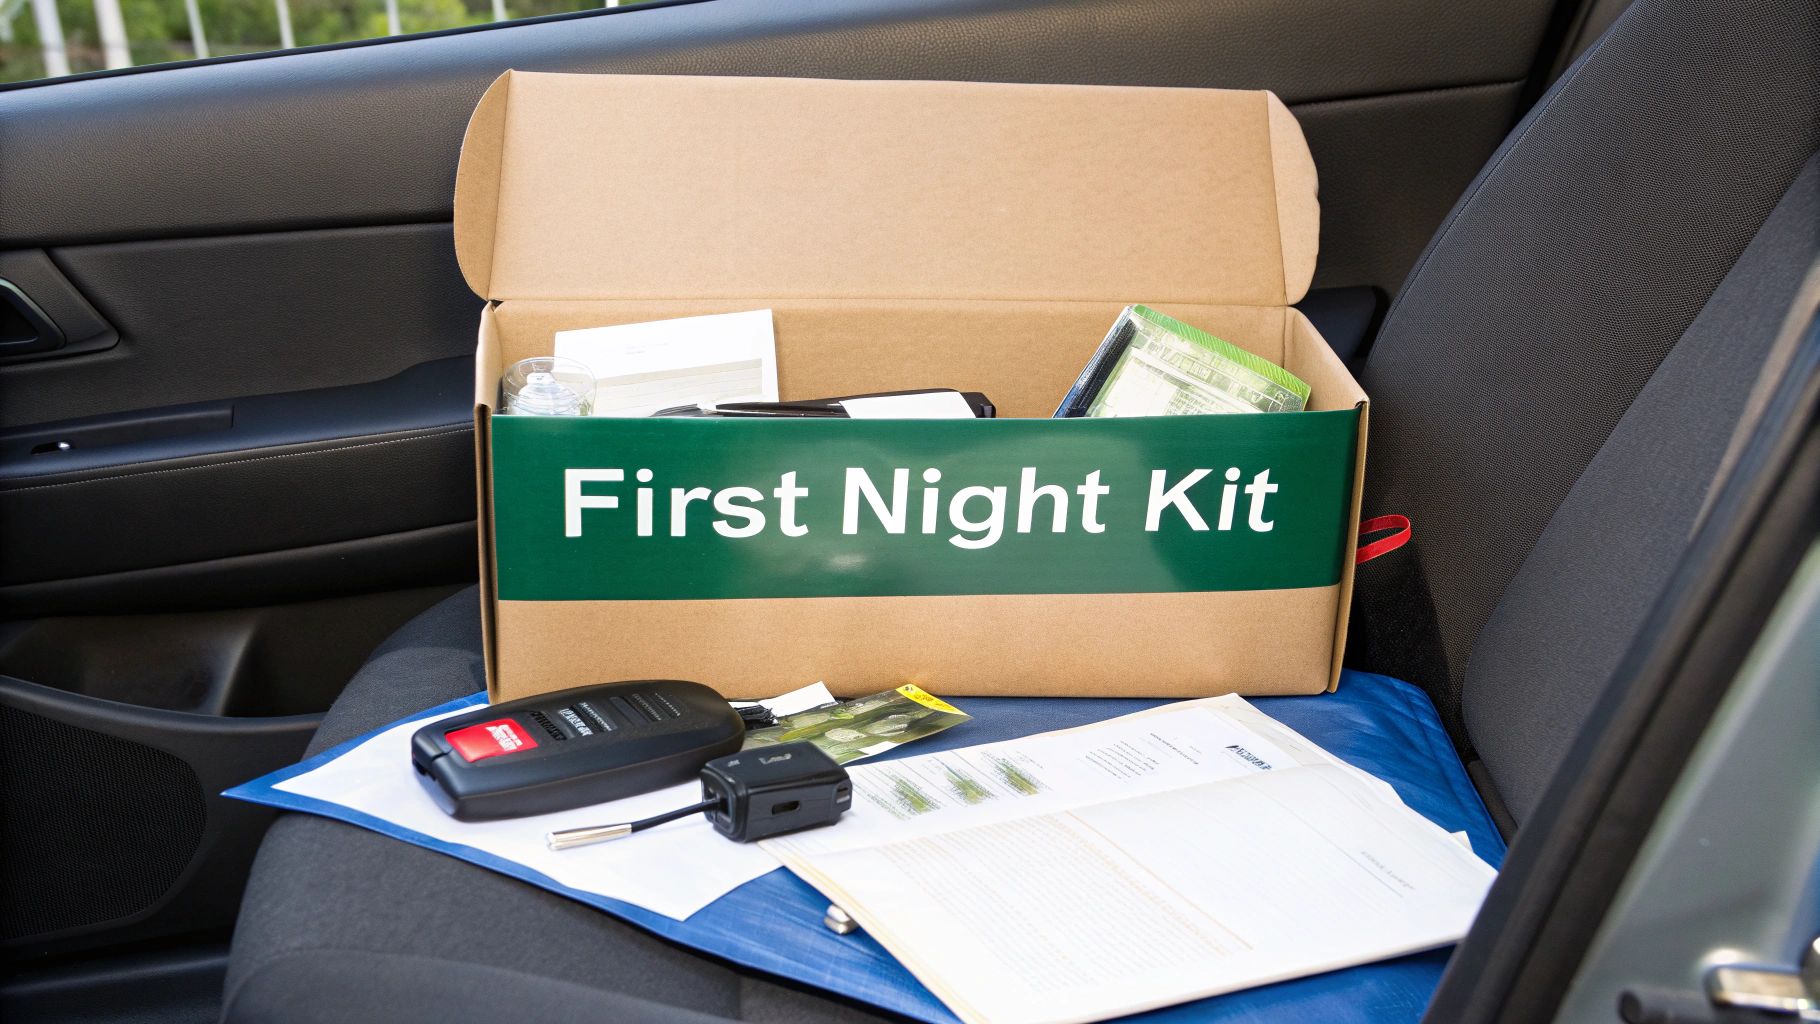
8. Pack a Moving Day Essentials Box
After weeks of sorting and packing, the last thing you’ll want to do is hunt through dozens of boxes for a toothbrush or a phone charger. A Moving Day Essentials Box, often called a 'first night' kit, is your personal survival pack for the first 24 hours in your new home. This specially designated box or bag contains all the immediate necessities you'll need upon arrival, ensuring a smoother, less stressful transition without having to unpack everything at once.
This simple step is a core part of any professional moving out checklist because it prioritises comfort and practicality. By having critical items readily accessible, you can focus on the bigger tasks of setting up your new space, knowing that your immediate personal and practical needs are already taken care of.
How to Assemble Your Essentials Box
Your essentials box should be one of the very last things you pack. To ensure it’s instantly recognisable, use a brightly coloured bag, a clear plastic tub, or a cardboard box marked clearly on all sides. Crucially, keep this box with you in your car, not on the moving lorry, to guarantee access the moment you arrive.
- Personal Items: Pack toiletries for everyone (toothbrush, toothpaste, soap), any required daily medications, a change of clothes, and pyjamas. Don’t forget toilet paper and a towel.
- Practical Tools: Include a small tool kit (screwdriver, Allen keys), scissors or a box cutter for opening other packages, bin bags, and basic cleaning supplies like cloths and an all-purpose spray.
- Electronics & Documents: Ensure you have phone chargers, a portable power bank, and any vital documents such as passports, driving licences, and the new house keys or rental agreement.
- Comfort & Sustenance: Pack a kettle, tea bags or instant coffee, mugs, and some non-perishable snacks. If you have pets, include their food, bowls, and a favourite toy to help them settle in.
9. Perform Final Walk-Through and Document Condition
Once the property is completely empty, the final and most critical step on your moving out checklist is to conduct a meticulous walk-through. This involves a detailed inspection of the property to document its condition before you hand over the keys. This process serves as crucial evidence to protect your security deposit, providing a clear, time-stamped record that can prevent or resolve potential disputes with your landlord or letting agency about damages or wear and tear.
Treat this step as you would an official inventory check-in. By creating an undeniable record of the property's state as you left it, you safeguard yourself against being unfairly charged for pre-existing issues or damage that occurred after your departure. It is your final opportunity to ensure you have fulfilled your tenancy obligations and to secure the full return of your deposit.
How to Conduct a Final Walk-Through
To perform a comprehensive final inspection, be systematic and leave no stone unturned. This isn't a quick glance; it's a detailed audit of the entire property.
- Document Everything with Photos and Video: Go room by room and take clear, well-lit photographs and videos of every surface. Include walls, floors, ceilings, inside cupboards, and even appliances. A continuous video walk-through is particularly effective.
- Record Final Meter Readings: Take clear photos of your gas, electricity, and water meters showing the final readings. Send these to your utility providers to ensure you are only billed for what you used.
- Check All Fixtures and Utilities: Quickly test that all lights, taps, and toilets are in working order to confirm you are leaving them as you found them.
- Arrange a Joint Inspection: If possible, schedule the walk-through with your landlord or letting agent. This allows you to agree on the property's condition in person and get a signature on a move-out inspection form.
- Create a Digital Trail: Email all your photos, videos, and a summary of your final notes to your landlord immediately after the walk-through. This creates a time-stamped record that proves when the documentation was created.
- Keep Your Records Safe: Store copies of all documentation, including your tenancy agreement and the original inventory report, in a safe place. You may need to refer to them if a deposit dispute arises.
10. Confirm Moving Day Logistics and Final Preparations
With moving day just 24-48 hours away, this is the time to verify every single detail to ensure a smooth, stress-free operation. This final confirmation step involves double-checking arrangements with your removal company, preparing both properties for access, and communicating the day’s plan to everyone involved. It’s the logistical safety net of your moving out checklist, designed to pre-empt any last-minute hitches, prevent costly delays, and make sure your moving team and household are perfectly aligned for the big day.
This process is standard practice for professional removal firms and is often managed by a dedicated move coordinator. By taking charge of these final checks yourself, you transform potential chaos into a well-orchestrated plan, ensuring there are no unwelcome surprises when the van arrives.
How to Implement Final Logistics Confirmation
A systematic final check will ensure all parties are on the same page. Run through this list the day or two before your move to tie up any loose ends:
- Confirm with Removal Company: Ring your removal company to re-confirm their arrival time, the lead mover's name, and their contact number. Verify they have the correct addresses for both your old and new properties, including postcodes.
- Arrange Access and Parking: Ensure there will be clear, unobstructed access at both locations. If parking is restricted, you may need to arrange a permit with your local council or notify neighbours to leave space for the removal lorry.
- Prepare Payment: Double-check the final payment amount and the accepted payment methods. Have the funds ready or your card on hand to avoid any delays after the job is complete.
- Brief Your Household: Hold a quick meeting with family or housemates to run through the schedule. Assign small tasks, like who is responsible for pets or watching young children, to keep everyone clear of the main moving zones.
- Check Property Handover: Confirm the time and method for key collection at your new home and key drop-off for your old one with the estate agent or landlord.
10-Point Moving-Out Checklist Comparison
| Task | Implementation complexity | Resource requirements | Expected outcomes | Ideal use cases | Key advantages |
|---|---|---|---|---|---|
| Declutter and Downsize Possessions | Medium — time and emotional effort | Time, sorting space, donation/resale trips | Fewer items to move; lower costs; easier unpacking | Long-distance moves; downsizing or fresh start | Reduced moving cost; simpler setup in new home |
| Create a Detailed Moving Inventory | High — meticulous documentation | Time, smartphone/camera, app or spreadsheet | Accurate records for tracking and insurance | Moves with high-value items or insurance needs | Strong proof for claims; faster locating of items |
| Notify Service Providers and Change Address | Medium — multiple contacts and timing | Account info, time, reminders, documentation | Continuous services; redirected mail; billing accuracy | Any move where mail or services must continue | Prevents interruptions; reduces missed bills/identity risk |
| Book Moving Services and Get Multiple Quotes | Medium — research and comparisons | Money, time, references, deposits | Professional handling; insured transport; scheduled move | Large households; heavy furniture; limited time | Saves labour; insurance and fixed-cost options |
| Gather Packing Supplies and Materials | Low — shopping and prep | Budget, storage space, variety of materials | Better protection; efficient packing and unpacking | Moves with many fragile or varied items | Damage prevention; organised packing process |
| Pack Systematically Room by Room | Medium — disciplined planning | Labels, boxes, time, inventory list | Faster unpacking; organised placement at destination | Families and multi-room homes | Simplifies unpacking; reduces chaos and misplaced items |
| Set Up Utilities and Services in New Home | Medium — scheduling with providers | Account details, time, possible deposits | Utilities active on move-in; immediate comfort | Immediate-occupancy moves; new areas | Avoids uncomfortable move-in; prevents emergency fees |
| Pack a Moving Day Essentials Box | Low — basic planning | Small bag/box, toiletries, chargers, documents | Immediate access to essentials on arrival | Any move; first-night stays; families | Reduces stress; ensures comfort and access to critical items |
| Perform Final Walk-Through and Document Condition | Medium — thorough inspection | Time, camera/video, documentation forms | Evidence to protect security deposit; dispute prevention | Rentals or lease terminations | Protects deposit; legal documentation of condition |
| Confirm Moving Day Logistics and Final Preparations | Medium — last-minute coordination | Communication time, cash for tips, permits | Reduced delays; coordinated move-day execution | Complex moves with removal companies, parking, or schedules | Prevents cancellations and costly delays; smoother move day |
Unpacking Success: Settling In and Leveraging Your Storage
The final box is across the threshold, the moving lorry has departed, and you’re standing in your new space. While it might feel like the end of a marathon, this moment is actually the starting line for your next chapter. The journey detailed in this comprehensive moving out checklist wasn’t just about ticking boxes; it was about laying the groundwork for a smooth, stress-free transition. By decluttering early, creating a detailed inventory, systematically packing, and managing your admin, you’ve transformed a potentially chaotic process into a manageable project. You’ve orchestrated the logistics, not just survived them.
The real value of this meticulous preparation becomes crystal clear now, during the unpacking phase. Your clearly labelled boxes, your room-by-room packing strategy, and your "essentials" kit are the tools that will turn an empty house into a home with surprising speed. This is where your foresight pays dividends, allowing you to prioritise comfort and functionality from day one.
From Checklist to Comfort: Your First Steps Home
Mastering your move means recognising that the process extends beyond moving day itself. The true victory lies in how efficiently you settle in. Remember the key takeaways from our guide:
- Prioritise Your Unpacking: Don’t try to tackle everything at once. Start with the essentials: assemble the beds, locate the kettle and toiletries from your essentials box, and set up the bathroom. Creating a sanctuary for rest first will give you the energy for the days ahead.
- Systematic Unpacking is Key: Just as you packed room by room, unpack in the same organised fashion. Begin with the kitchen to get your daily routines back on track, followed by bedrooms and living areas. Leave the non-essential or decorative items until last.
- Leverage Your Self-Storage: If you’ve utilised a storage unit, you've made a brilliant strategic decision. Instead of navigating a fortress of cardboard boxes, you have breathing room. Your new home remains a liveable space while you methodically retrieve items from storage as you’re ready for them. This is particularly valuable for seasonal items, sentimental belongings, or furniture you’re not yet sure how to place. It allows you to design your space thoughtfully rather than reactively.
Key Insight: A successful move isn't measured by how quickly you empty the boxes, but by how smoothly you transition your life. Using a self-storage unit grants you the ultimate luxury during a move: the control of time and space.
The Lasting Impact of an Organised Move
Following a detailed moving out checklist does more than just get your belongings from point A to point B. It sets the tone for your life in your new home. By starting with order and control, you minimise stress, avoid the frantic search for lost items, and prevent the feeling of being overwhelmed that can linger for weeks. You’ve given yourself the mental and physical space to actually enjoy the excitement of a new beginning.
You have successfully navigated one of life’s most significant logistical challenges. Now, take a moment to appreciate your new surroundings. Plug in the kettle, make that first cup of tea, and look around. This is the result of your planning, your effort, and your commitment to a smooth transition. Welcome home.
Ready to make your next move the most organised one yet? Whether you're downsizing, renovating, or just need more space, MG Self Storage provides secure, flexible, and accessible solutions to perfectly complement your moving out checklist. Discover the ideal unit size for your needs and give yourself the gift of a clutter-free move by visiting MG Self Storage today.