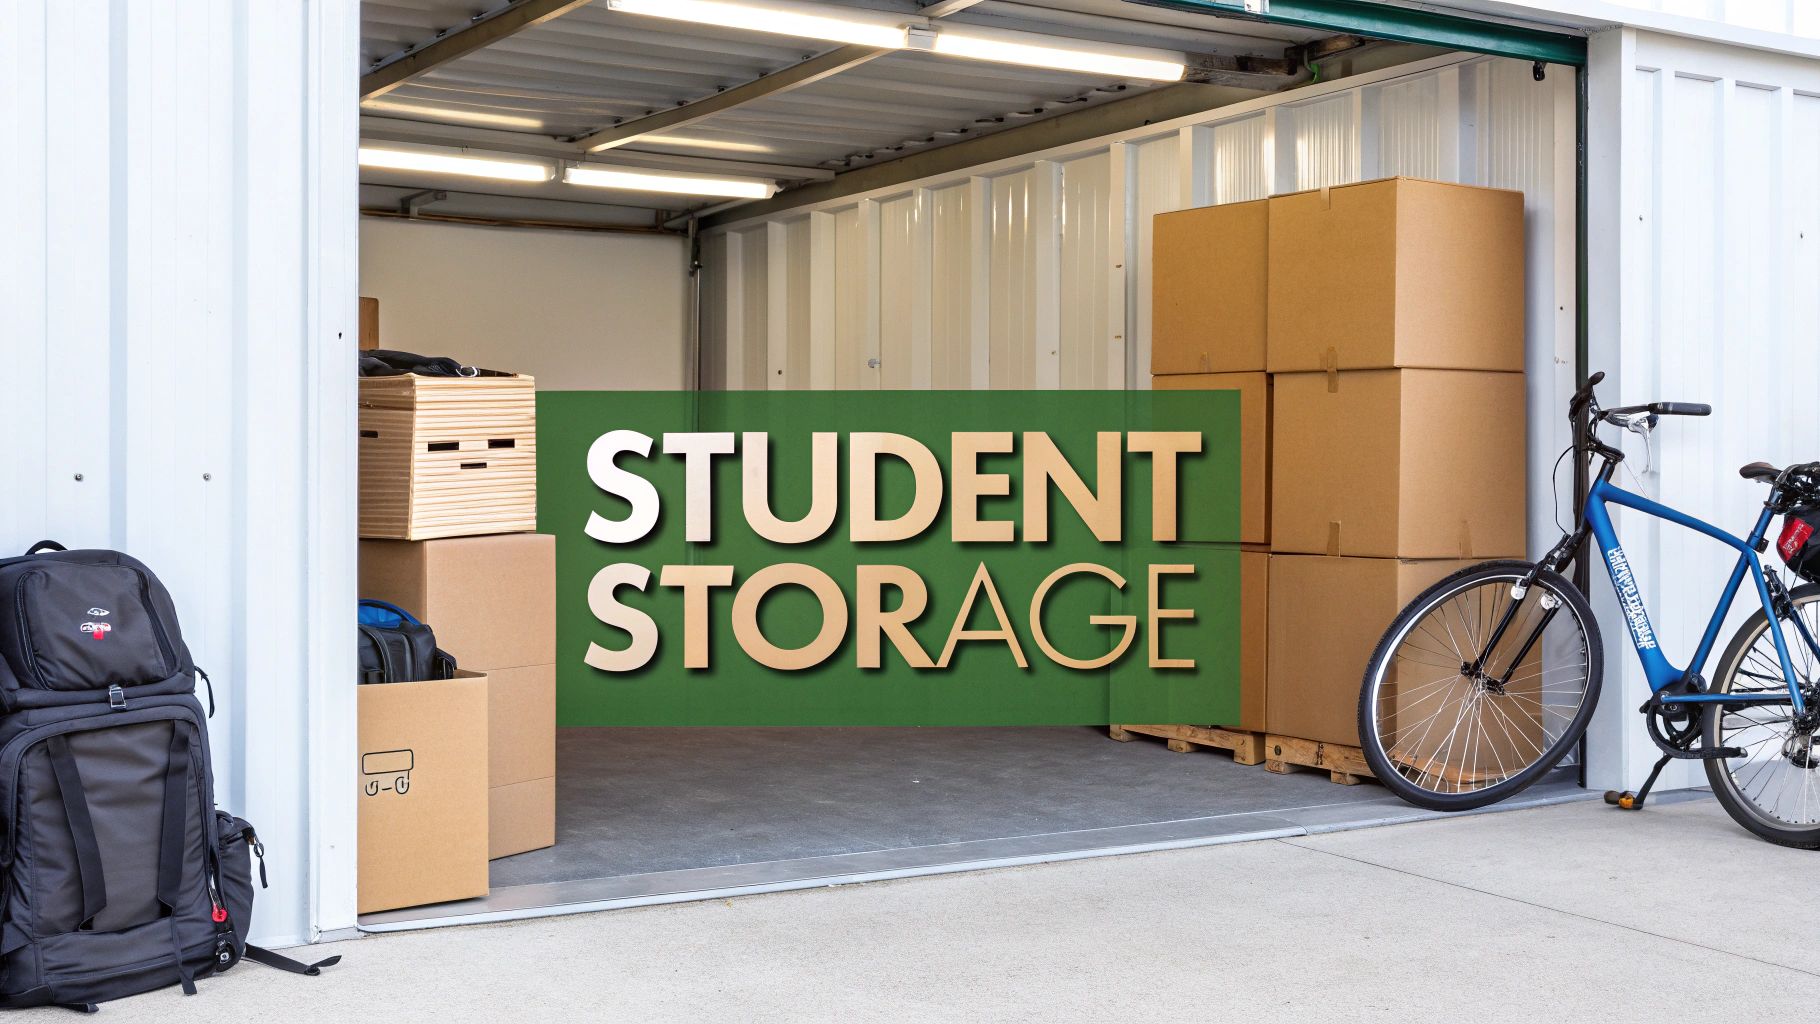
How to Simplify Student Moves with Short-Term Storage
Moving as a student can be stressful, but short-term storage makes it easier. Here’s how it helps:
- Save time and effort: Avoid repeated packing and hauling during breaks.
- Maximise space: Store extra items when dorms or apartments feel cramped.
- Cut costs: Cheaper than renting larger apartments or shipping belongings.
- Secure storage: Facilities offer 24/7 surveillance and controlled access.
- Flexible contracts: Month-to-month rentals fit unpredictable student schedules.
Whether you’re between dorms, studying abroad, or heading home for summer, short-term storage keeps your belongings safe and accessible, so you can focus on your studies.
Step 1: Plan Your Move to Reduce Stress and Costs
Getting a head start on your move can save you both money and headaches. Professional organiser Maija Diethelm sums it up best:
"We always have way more stuff than we even imagine"
- Maija Diethelm, Professional Organiser
This truth is especially relevant for students juggling tight budgets and limited living spaces.
Sort Through Your Belongings First
Before you even think about renting a storage unit, take time to declutter. Start this process a few weeks ahead of your move. The idea is straightforward: figure out what’s worth keeping and what’s just taking up space.
Set up three bins or boxes: one for storage, one for donations, and one for trash. This method keeps things simple and helps you avoid overthinking. To stay on track, use a timer – 20 minutes per session works well for making quick decisions.
Begin with areas you don’t use often, like a storage closet or the boxes stashed under your bed. For each item, ask yourself: "Have I used this in the last five years?" or "Will this fit into my new living space?" If the answer is no, it’s probably time to let it go.
A quick tip: check for dust. If something’s been collecting dust, chances are it hasn’t been used in a long time. Lesley Spellman, Co-founder of The Declutter Hub, offers this practical advice:
"Don’t pay to transport stuff you’re just going to let go of at the other end. Be ruthless."
- Lesley Spellman, Co-founder of The Declutter Hub
Once you’ve filled up a donation box, schedule a pick-up right away. Clearing out unwanted items early makes it easier to assess your storage needs.
Make a List of What You’re Storing
An inventory can save you a lot of time and frustration later. Whether you prefer a notebook, spreadsheet, or app, choose a system that’s easy to manage and stick with it.
Be thorough when listing your items. Include details like brand names, model numbers, and the condition of each item. For anything valuable or fragile, snap a photo and attach it to your inventory. This can be a lifesaver if you need to file an insurance claim.
Label each box with a number or code that matches your inventory, along with a brief note about what’s inside. Keeping your list in the same order as your boxes will make finding specific items much easier during unpacking.
Your inventory isn’t just for tracking – it helps you group similar items, ensures nothing gets forgotten, and makes unpacking feel less chaotic. Once your list is complete, you’ll be ready to line up a storage rental that fits your timeline.
Pick the Right Storage Length
Now that you’ve organised and inventoried your belongings, it’s time to plan your storage rental. The goal is to align the rental period with your academic schedule, whether you’re storing things for summer break, a semester abroad, or another period.
Most self-storage facilities offer flexible month-to-month rentals, which are ideal for the unpredictable nature of student life. However, some places might have a minimum rental period, so it’s smart to ask about this upfront.
Avoid companies that require long-term contracts. Student schedules can change quickly, so having the option to adjust your rental period is crucial. Month-to-month agreements let you extend or end your rental based on your actual needs, not on rigid contract terms.
If you’re storing items for summer break, aim to reserve a unit a few weeks before finals and plan for storage from late May through late August. For study abroad programs, you might need storage for an entire semester or even a full academic year. The key is to match your rental period to your plans – don’t pay for extra months you won’t use, but also make sure you’re not scrambling to extend your rental at the last minute.
For storage solutions tailored to students, check out our student self storage options designed to fit your needs.
Step 2: Choose the Right Storage Option
Once you’ve organised your belongings and taken stock of what needs storing, it’s time to pick the storage solution that fits your needs. For students, this means finding an option that’s affordable, secure, and adaptable to your ever-changing schedule.
Why Student Self Storage is a Smart Choice
Student self storage is a popular option for good reason – it’s flexible and budget-friendly. These facilities are designed with students in mind, offering short-term rentals that work with academic timelines instead of locking you into long-term commitments. Pricing varies by location and unit size, but many student-focused facilities in the U.S. offer options starting at around $120 per month. For more details on tailored solutions, check out our student self storage page.
Convenience is another big plus. Facilities located near campuses save you time and eliminate the hassle of long commutes. Whether you need storage for a summer break, a semester abroad, or an unexpected change in plans, these services are built to adapt to your needs.
Key Features to Look for in a Storage Facility
When choosing a storage facility, security should be at the top of your checklist. Look for places that offer 24/7 CCTV surveillance, gated access, and ample lighting to ensure your belongings are safe while you’re away.
Ease of access is another important factor. Facilities with drive-up access make loading and unloading much simpler, especially if you’re dealing with heavy or bulky items.
Also, check the facility’s access hours. Some offer 24/7 access, while others have fixed operating times. If you anticipate needing your items at odd hours, make sure the facility’s schedule works for you.
Finally, opt for month-to-month rental agreements. Avoid facilities that lock you into long-term contracts or charge hefty fees for early termination. Your academic plans can shift, and your storage needs should be able to shift with them.
Comparing Storage Options
To make the best choice, it’s helpful to understand the pros and cons of different storage methods. Here’s a quick breakdown:
| Storage Type | Best For | Advantages | Disadvantages |
|---|---|---|---|
| Self-Storage Units | Students needing secure, accessible storage | 24/7 access, strong security, various sizes, | Monthly fees; requires trips to the facility |
| Portable Storage Containers | Budget-conscious students with fewer items | Delivered to your location, easy loading, cost-efficient | Limited security, exposure to weather, size restrictions |
| Shared Storage | Students willing to split costs | Affordable, more space | Coordination issues, potential access conflicts |
Self-storage units are a reliable, all-in-one solution with strong security and professional management. While they may cost more, the convenience and peace of mind they provide often justify the expense.
Portable storage containers can be a cheaper alternative, especially for smaller loads, since they’re delivered directly to your location. However, they generally lack the security and climate control features of traditional storage facilities.
Sharing a storage unit with a friend is another way to save money. For instance, splitting the cost of a 10×10 unit can significantly lower expenses while still offering plenty of space. Just keep in mind that coordinating access and managing payments can require extra effort.
When comparing options, don’t forget to account for hidden costs like insurance, administrative fees, or charges for locks. Getting a full breakdown of costs upfront will help you avoid unpleasant surprises and ensure your choice aligns with your budget and schedule.
sbb-itb-bb0686d
Step 3: Pack Your Items for Storage
Packing your belongings the right way not only keeps them safe but also makes the most of your storage space and can even save you money.
Packing Supplies You’ll Need
Start with sturdy, uniform boxes. Using boxes of the same size makes stacking easier and helps you maximise every inch of your storage unit. Strong brown packing tape is a must for securely sealing boxes – skip shipping tape, as it’s not built to last and might fail over time. For fragile items, stock up on bubble wrap and packing paper. Clothing and fabrics? Vacuum-sealed bags are your best friend – they compress everything, saving you tons of space.
Labels and markers are key for keeping track of what’s inside each box. Label all sides with clear descriptions, and mark fragile items so they’re handled with care. Plastic bins are another great option. They’re sturdier than cardboard and, with proper ventilation, can keep moisture, pests, and dirt at bay.
For non-climate-controlled units, toss in silica packs to manage moisture. Furniture covers or old blankets are perfect for shielding larger items from dust and scratches.
How to Fit More in Your Storage Unit
Packing smartly can make a huge difference in how much you can fit. Start by placing heavier items at the bottom of boxes and in the storage unit itself. This creates a stable base and protects lighter items from being crushed.
Use vertical space to your advantage by stacking boxes neatly. Fill any gaps in boxes with packing paper or newsprint to keep items from shifting around. Get creative by packing smaller items inside empty spaces like pots, bowls, or storage containers. And don’t forget those vacuum-sealed bags – they’re a lifesaver for compressing clothing and bedding.
When arranging your unit, leave narrow walkways for easy access to items you might need later. Keep frequently used or seasonal items near the front, and tuck rarely used belongings toward the back.
Keep Fragile Items Safe
Once you’ve optimised your storage space, it’s time to focus on protecting delicate items. Fragile belongings need extra care to withstand months in storage. Wrap them in bubble wrap or packing paper, use dividers for stemware, and reinforce boxes with extra tape.
Smaller boxes work best for heavy, fragile items – they’re easier to handle and less likely to break under the weight. Megan’s Moving offers this advice:
"Extra strips of tape will help support the box better and keep it from bowing under the weight of its contents." – Megan’s Moving
Line the bottom of boxes with soft packing material before adding fragile items. For dishes, store them on their sides instead of flat to distribute weight evenly and reduce the risk of cracking. Don’t pack plates too tightly – leave a little cushioning space to prevent damage.
For items like vases or bowls, fill them with packing paper for extra support. Wrap silverware individually in acid-free tissue and place it in ziplock bags to avoid tarnishing. Clean all fragile items before packing to prevent dirt or residue from causing stains over time.
Store delicate items in areas of your unit that won’t be exposed to temperature swings, direct sunlight, or high humidity. Taking these steps can help you avoid unnecessary damage and costly replacements.
For more tips on streamlining your move, check out our student self storage page. You can also find additional advice on making the most of your storage space on our MG Self Storage homepage.
Step 4: Access and Manage Your Storage Unit
Once your items are safely stored, the next step is making sure you can get to them easily whenever you need. With a little planning and the right setup, you can save yourself time and hassle throughout your storage experience.
Convenient Access to Your Storage
Drive-up units are a real time-saver. Being able to load and unload items directly from your car makes grabbing textbooks between classes or picking up seasonal clothes during breaks much easier.
Facilities with 24/7 access are especially helpful if you have a busy or unpredictable schedule. Look for locations with security features like gated entry and surveillance cameras – they provide convenience while keeping your belongings safe. If you plan to store large or bulky items, check whether the facility allows vehicle parking inside the unit to make loading and unloading simpler.
For non-climate-controlled units, take extra steps to protect your belongings from weather-related damage. To explore secure and accessible storage options, visit our student self storage page.
Organise for Quick Retrieval
Packing efficiently is just the start – how you arrange your storage unit makes all the difference when it comes to finding items later. Keep frequently used things, like textbooks or seasonal clothing, near the front of the unit. Place less-needed items toward the back or along the sides to avoid unnecessary heavy lifting.
Label your boxes clearly with descriptions like "winter jackets" or "fall semester books." Using clear plastic bins can make it even easier to spot what you’re looking for.
For a more organised approach, consider creating a digital inventory. Use a spreadsheet in Microsoft Excel or Google Sheets to list each box, its contents, and its location in the unit. Storage apps like Sortly, Inventory+, or Encircle can simplify this process further by letting you update your inventory directly from your phone. As Sentry Mini-Storage Inc. puts it:
"It’s important to remember what you move to storage and which box it’s in, so you can quickly grab it when you need it again."
Another tip? Sketch a simple floor plan of your unit showing where different categories of items are stored. Keep both a digital and printed version handy, and update it whenever you add or remove items.
Flexible Contracts for Students
Student life can be unpredictable, so having flexible storage options is a must. Month-to-month rental agreements are ideal – they let you adjust your storage needs as your circumstances change, without being tied to long-term commitments.
Look for facilities that don’t require large security deposits or strict leases. Regularly checking in on your unit every few months is a smart move. These visits give you a chance to update your inventory, reorganise items, and remove anything you no longer need. This keeps your space efficient and cost-effective. Facilities offering a variety of unit sizes are also helpful, allowing you to scale up or down as needed. For more information on flexible rental options, check out our flexible storage solutions page.
With convenient access and flexible terms, storage can be a stress-free solution. A little planning goes a long way in making sure your stored items are always within reach when you need them.
Conclusion: Make Student Moves Simple with Short-Term Storage
A well-thought-out plan can turn the chaos of moving into a smooth process that works for both your student lifestyle and your budget.
Tips for Stress-Free Student Moves
- Start planning early: Create a checklist and timeline to stay organised, save money, and avoid storing items you don’t need.
- Pack smart: Roll your clothes, vacuum-seal bulky items, and clearly label your boxes. These simple techniques save time, space, and keep your belongings safe.
- Opt for flexible storage: Look for short-term, month-to-month storage options with 24/7 access and drive-up convenience. This way, you’re not locked into long commitments and can adapt to your changing needs.
Short-term storage can also save you money. Renting a storage unit is often cheaper than upgrading to a larger apartment just to store extra stuff. Plus, you’ll avoid the hassle and cost of moving items back and forth between home and school.
Find the Right Storage for Students
Ready to make your next move easier? Short-term storage offers a secure, convenient solution that fits your academic schedule like a glove.
Check out our student self-storage options starting at $95.00 per month. With flexible contracts, 24/7 security, controlled access, and drive-up units, you can focus on your studies while we handle your storage needs.
Whether you’re moving between dorms, heading off-campus, or going home for the summer, having dependable storage takes the stress out of transitions. Your belongings stay safe, your costs stay manageable, and you can keep your attention where it matters most – on your education.
FAQs
What are the advantages of using short-term storage for students during moves?
Short-term storage gives students an easy and stress-free way to handle their belongings during moves or periods of transition. Whether it’s seasonal clothing, stacks of books, or extra furniture, having a secure place to store these items can help clear out clutter from dorms or apartments, making living spaces feel more organised and manageable.
On top of that, renting a storage unit can be a smart way to save both time and money. It cuts down on the hassle of renting moving trucks or making multiple trips back home. Many storage facilities cater specifically to students by offering flexible, month-to-month leases and even special discounts. This means students can pay only for the time they actually need the storage, avoiding any long-term commitments.
How do I choose the right storage unit size for my belongings?
To figure out the right storage unit size for your belongings, start by listing everything you plan to store. Group similar items – like furniture, boxes, and appliances – and note their approximate sizes. This step helps you visualise how much space you’ll need.
Smaller units (like 5’x5′) are ideal for storing boxes and smaller items, while larger units (such as 10’x20′) can accommodate furniture and bigger appliances.
If you’re still unsure, most storage companies provide size guides or online calculators to help you estimate the space you’ll need. A little planning upfront can save you money and ensure you’re not paying for unused space.